
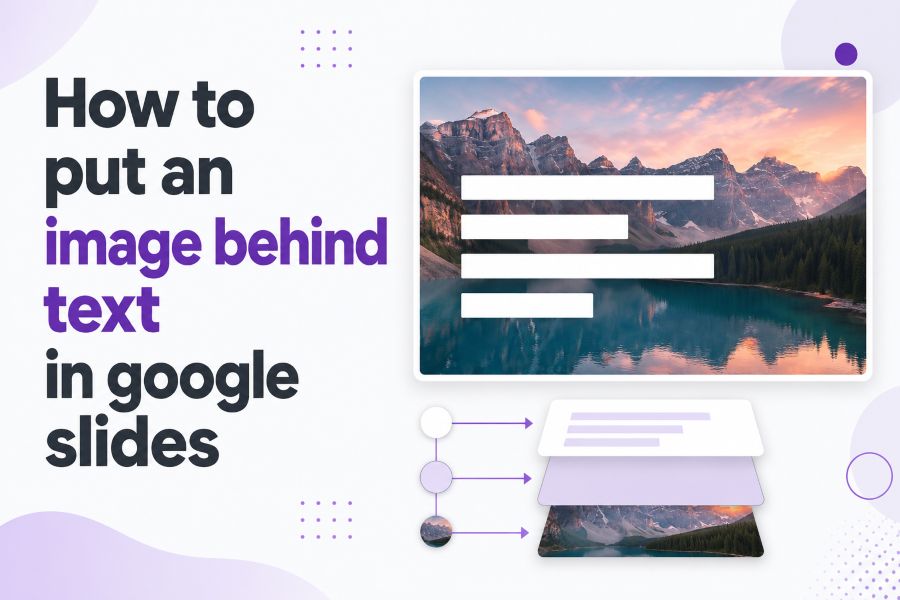
Learning how to put an image behind text in Google Slides is one of the simplest ways to make a presentation look more polished. It helps you create title slides, quote slides, classroom materials, marketing visuals, photo-based layouts, and modern presentation covers without needing advanced design software.
The common issue is layering. You insert an image, add a text box, and suddenly the image covers the words. Or the text appears on top, but it becomes hard to read because the image is too bright, too detailed, or too busy. That is why you need two skills: arranging objects in the right order and making the text readable over the image.
Google Slides gives you several ways to do this. You can send an image backward, send it to the back, bring text forward, or set the image as the slide background. Google’s help documentation confirms that the Arrange menu includes Order options for placing objects behind or in front of text, images, and other objects.
How Image and Text Layering Works in Google Slides
Google Slides uses layers. Every image, text box, shape, line, or object sits on a layer. When objects overlap, the object on the higher layer appears in front, while the object on the lower layer appears behind.
This is why an image may cover your text after you insert it. The image was probably added after the text box, so Google Slides placed it above the text. You do not need to delete anything. You only need to change the object order.
Google’s official Google Slides help explains that the Arrange menu includes an Order option. That option lets users place objects behind or in front of text, images, and other objects.
There are two common ways to place a picture behind text in Google Slides:
The first method is object layering. You insert the image, place a text box on top, and use Arrange > Order to send the image backward or bring the text forward. This is best when you still want to move, resize, crop, or adjust the image later.
The second method is using a slide background image. Google’s help documentation says users can choose a slide, click Slide > Change background, then choose an image. This adds the image as a background rather than a normal movable object.
Use object layering when you want design flexibility. Use background image when you want the picture fixed behind all content.
How to Put an Image Behind Text in Google Slides Step by Step
The easiest way to put a picture behind text Google Slides users can edit is to use the Arrange menu. This keeps both the image and text adjustable.
Step 1: Open your slide
Open your presentation in Google Slides and choose the slide where you want the design. You can start with a blank slide or use an existing layout.
If the slide already has text, keep it in place. If not, add a text box first so you can see how the image and text will overlap.
Step 2: Insert the image
Go to Insert > Image and choose your image source. You can upload from your computer, use Google Drive, Google Photos, a URL, or another available source depending on your account.
Place the image on the slide. Resize it by dragging from the corners so it keeps its natural proportions. Avoid dragging only from the side because that can stretch the picture.
Step 3: Add or select your text
Click Insert > Text box, then type your heading, quote, label, or slide content. If your text already exists, click the text box to select it.
Use a clear font size. Text over an image usually needs to be larger and bolder than text on a plain white slide.
Step 4: Send the image behind the text
Click the image. Then go to:
Arrange > Order > Send backward
If the image still covers the text, repeat the command or choose:
Arrange > Order > Send to back
Google also lists keyboard shortcuts for moving objects backward and forward in Google Slides. For example, Ctrl + Down Arrow sends an object backward on Windows/ChromeOS, and Ctrl + Shift + Down Arrow sends it to the back.
Step 5: Bring the text forward if needed
If sending the image back does not work, click the text box and choose:
Arrange > Order > Bring forward
Or choose:
Arrange > Order > Bring to front
This places the text above the image layer.
Step 6: Adjust the image for readability
After the layering is correct, check if the words are easy to read. If not, adjust the image transparency, brightness, or contrast. Google’s image editing help says users can change image transparency, brightness, and contrast in Slides.
You can also add a semi-transparent shape behind the text. This is one of the fastest ways to make text readable over a detailed photo.
Best Ways to Make Text Readable Over an Image
Putting an image behind text is only half of the job. The slide also needs to be readable. A beautiful photo can still create a poor slide if the text disappears into the background.
Use these practical strategies:
- Darken or lighten the image: Add a semi-transparent rectangle over the image, then place the text on top.
- Use strong contrast: White text over a dark image or dark text over a light image is usually easier to read.
- Add a text panel: Place the text inside a soft box, card, or gradient overlay.
- Blur or simplify the background: Google Slides does not offer a full advanced blur tool like some design apps, but you can reduce image distraction with transparency, contrast, and overlays.
- Choose a simple image area: Put text over empty space, sky, walls, desk areas, or other less-detailed parts of the photo.
- Use bigger type: Text over images usually needs more size and weight than regular slide text.
- Avoid busy patterns: Detailed backgrounds behind small text make slides harder to read.
A useful readability benchmark comes from WCAG guidance: normal text should have a contrast ratio of at least 4.5:1, while large text needs at least 3:1 for Level AA contrast.
You do not need to calculate contrast for every classroom or office slide, but the principle is helpful. If the text feels hard to read at a glance, improve the contrast.
A simple formula is:
Readable Slide = Clear Image + Correct Layer Order + Strong Text Contrast + Enough White Space
For example, imagine a title slide with a city photo. If you place black text directly over a dark building, the text may disappear. But if you add a soft white transparent rectangle behind the text, the same slide becomes cleaner and easier to read.
Common Mistakes When Placing Text Over Images
One common mistake is sending the image all the way to the back when there are other background shapes already on the slide. If your image disappears, it may be behind a large rectangle or theme background object. In that case, bring the image forward one layer or move the background shape.
Another mistake is using Send backward only once and assuming it failed. Send backward moves an object one layer at a time. If your slide has several objects, you may need to repeat it. Send to back moves the selected image behind all other slide objects.
Some users accidentally select the wrong object. If you cannot move the image layer, click carefully on the image edge or use the Tab key to cycle through objects. Google’s keyboard shortcuts list includes Tab for selecting the next shape and Shift + Tab for selecting the previous shape.
Another issue is using the image as a normal object when it should be a background. If you do not want students, teammates, or collaborators to accidentally move the image, use Slide > Change background instead of inserting it as a normal picture. Google’s background help explains that you can add an image to one slide or add it to the theme for the whole presentation.
A design mistake is relying only on bold text. Bold text helps, but it does not fix poor contrast. Use overlays, shadows, background shapes, or better image placement.
Finally, avoid stretching the image just to fill the slide. Stretching can distort faces, logos, products, and screenshots. Crop instead. Google Slides supports cropping and masking images into shapes, which can help refine the design without distortion.
The L.A.Y.E.R Method for Better Google Slides Designs
Use the L.A.Y.E.R Method when you want to put an image behind text in Google Slides and keep the slide clean.
L — Load the image correctly
Start with a clear image that matches your slide purpose. A wide landscape photo works well for title slides. A simple product image works well for business slides. A classroom or subject-related visual works well for educational slides.
Make sure the image is not too low quality. If the photo looks blurry before editing, it will usually look worse when enlarged.
A — Arrange the order
Place the image first, then add the text box. If the order is wrong, use Arrange > Order to send the image backward or bring the text forward.
For faster editing, use keyboard shortcuts if you are comfortable with them. Google lists shortcuts for Send backward, Send to back, Bring forward, and Bring to front in Google Slides.
Y — Yield contrast
Make the text stand out. Use contrast intentionally instead of hoping the text will be readable.
If the image is dark, use light text. If the image is light, use dark text. If the image has mixed colors, place a transparent shape behind the words.
E — Edit transparency and image settings
Click the image and open the format options. Adjust transparency, brightness, and contrast if needed. Google Slides supports these image adjustments, along with crop, mask, and border options.
For example, you can lower image brightness and add a white heading on top. Or you can increase image transparency and place dark text over it.
R — Review readability
Zoom out and view the slide like your audience will see it. Can someone understand the heading in two seconds? Can the text be read from a classroom screen, meeting room display, or shared video call?
Use this final checklist:
- Is the image behind the text?
- Is the text clearly visible?
- Is the background too busy?
- Is there enough white space?
- Is the image cropped naturally?
- Does the slide still look clean when zoomed out?
The L.A.Y.E.R Method works because slide design is not only about order. It is about clarity. The image should support the message, not compete with it.
Conclusion
Now you know how to put an image behind text in Google Slides using the Arrange menu, object order tools, background image settings, and simple readability adjustments. The basic process is straightforward: insert the image, add your text, select the image, then use Arrange > Order > Send backward or Send to back until the text appears above it.
If you want the image to stay fixed behind every object, use Slide > Change background and choose an image as the slide background. If the text is hard to read, adjust transparency, brightness, contrast, or add a semi-transparent shape behind the words.
The most important takeaway is that layering alone does not create a good slide. You also need contrast, spacing, clean cropping, and readable text. Use the L.A.Y.E.R Method: load the image, arrange the order, yield contrast, edit settings, and review readability. Your next step is to open a slide, test the layer order, and check whether the text stays clear at a glance.
FAQs
How do I send an image behind text in Google Slides?
Select the image, then go to Arrange > Order > Send backward or Send to back. If the text still does not show, select the text box and choose Bring forward or Bring to front. This changes the layer order of objects on the slide.
Why is my image covering my text in Google Slides?
The image is probably on a higher layer than the text box. Google Slides places newer objects above older ones in many cases. Select the image and send it backward, or select the text box and bring it forward.
Can I set an image as a background in Google Slides?
Yes. Choose the slide, click Slide > Change background, then choose an image. This places the image as the slide background rather than a movable object. It is useful when you do not want the image accidentally moved while editing.
How do I make text readable over an image in Google Slides?
Use stronger contrast, larger text, bold font weight, or a semi-transparent shape behind the text. You can also adjust image transparency, brightness, and contrast in the image format options. Avoid placing small text over busy image areas.
What is the difference between Send backward and Send to back?
Send backward moves the selected object down one layer. Send to back moves it behind all other slide objects. Use Send backward when you need precise layering, and Send to back when the image should sit behind everything else.
Can I lock an image behind text in Google Slides?
Google Slides does not work exactly like advanced design tools with a simple lock layer feature for every object. For a fixed image, use Slide > Change background. This makes the image act like the slide background and helps prevent accidental movement.