
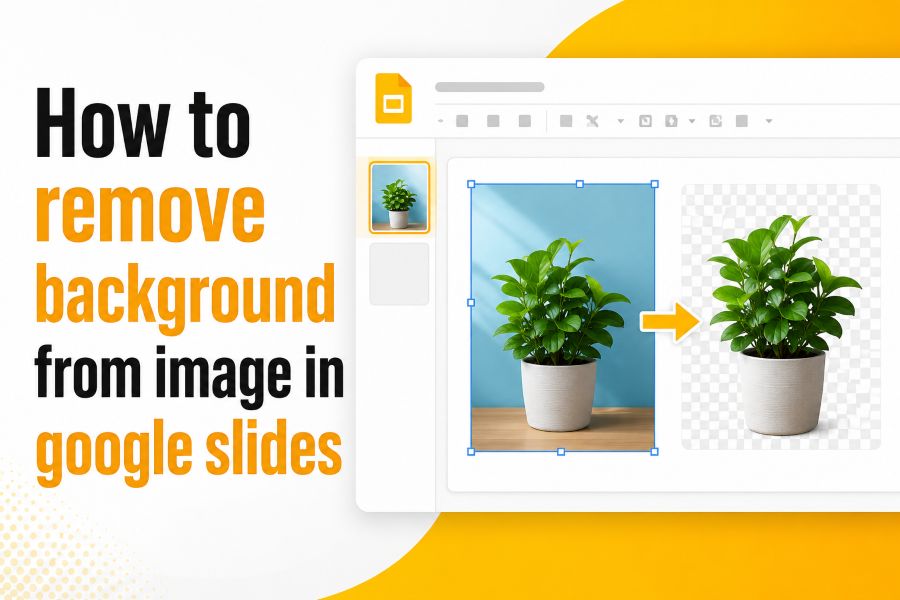
If you are building a presentation, clean visuals can make a big difference. A product photo, profile image, logo, icon, or object cutout often looks more professional when the distracting background is removed. That is why many users search for how to remove background from image in Google Slides when preparing school slides, work presentations, business reports, or simple visual content.
The challenge is that Google Slides has not always worked like full design software. Some users now see a built-in background removal option, while others do not, depending on their Google account, subscription, and available features. This can make the process confusing. You may click around the toolbar expecting a one-click tool, only to find crop, mask, opacity, and image adjustment options instead.
The good news is that you still have several practical ways to create a clean transparent image for your slide. You can use Google Slides’ built-in background remover if it is available in your account, use an external tool such as Canva or remove.bg, or use crop and mask tools to improve the image layout when full background removal is not possible.
This guide explains the simplest ways to remove or clean up an image background in Google Slides, step by step, with practical examples and design tips.
Can You Remove Background from Image in Google Slides?
Yes, but the answer depends on what version of Google Slides features your account can access. Google’s official help documentation now lists a Remove background option for images in Google Slides, Google Drawings, and Google Vids. However, Google also notes that the feature requires an eligible Google Workspace or Google One AI Premium subscription.
That means two users may have different experiences. One person may select an image and see Edit image > Remove background, while another person may only see standard image editing options like crop, mask, transparency, brightness, contrast, and recolor. This is the main reason many people feel stuck when trying to remove image background Google Slides style.
If you do have the built-in feature, the process is simple: insert your image, select it, choose the background removal option, and let Google Slides process it. If you do not have it, you can still get the same visual result by preparing a transparent PNG outside Google Slides and then placing it into your presentation.
Google Slides also includes useful image formatting tools. You can crop images, mask them into shapes, add borders, and adjust transparency, brightness, and contrast. These features do not always remove a background completely, but they can help you clean up an image or make it fit your slide design better.
For most users, the best approach is simple: first check whether your account has the built-in background remover. If not, use an external background remover and bring the finished transparent image into Slides.
How to Remove Background from Image in Google Slides Step by Step
The fastest method is to use the built-in Google Slides tool, but you need to know where to look. Here is the practical process.
Step 1: Open your Google Slides presentation
Go to Google Slides and open the presentation where you want to edit the image. Choose the slide where the image should appear. If the image is already inserted, click it once to select it. If not, go to Insert > Image and upload it from your computer, Google Drive, Photos, or a URL.
Step 2: Select the image
Click directly on the image. You should see a border around it, which means Google Slides recognizes it as the active object. This step matters because image editing options only appear when the image is selected.
Step 3: Use the Remove Background option if available
Look for Edit image and choose Remove background. Google also says users may access the option through the Format menu by selecting Format > Image > Edit image > Remove background.
Once selected, Google Slides will process the image and remove the background. The result is usually best when the subject is clear, the background is not too busy, and the photo has strong contrast between the subject and background.
Step 4: Review the cutout
After the background is removed, zoom in and inspect the edges. Look at hair, hands, product corners, transparent objects, shadows, and small details. AI background removal is helpful, but it is not perfect every time.
If the cutout looks clean, resize and position it on your slide. If the result looks rough, undo the change or try another tool.
Step 5: If the option is missing, use a transparent PNG workaround
If you do not see the background remover, use an external tool. Upload your image to remove.bg, Canva, Adobe Express, or another editor. Remove the background, download the file as a PNG with transparency, then insert that PNG into Google Slides.
This workaround is often the most reliable method for beginners because transparent PNG files work well in presentations. Once uploaded, the image background will already be removed, so Google Slides only needs to display it.
Step 6: Use crop or mask for extra cleanup
If you do not need full background removal, Google Slides’ crop and mask tools may be enough. Google’s image editing help explains that users can crop unwanted edges, mask an image into a shape, and adjust opacity, brightness, or contrast.
For example, if you have a profile photo with a plain background, you can mask it into a circle and place it on a clean card. This does not remove the full background, but it can make the image look much more polished.
Best Tools to Make Image Background Transparent for Slides
If Google Slides background removal is not available in your account, external tools are the easiest solution. The goal is to create a transparent background in Google Slides by uploading an already-edited PNG.
Here are practical tools worth knowing:
- Google Slides built-in background remover: Best if available in your account. It keeps the workflow inside your presentation.
- remove.bg: Best for fast automatic background removal. The tool says it can create transparent PNG-style results for uses like logos, graphics, and presentations.
- Canva Background Remover: Best if you also want to design, refine, erase, restore, or place the cutout inside a visual layout. Canva explains that users can upload an image, use BG Remover, and download the design as a high-resolution PNG.
- Adobe Express: Useful for quick image cleanup and simple design tasks.
- Google Drawings: Helpful for simple layouts, shapes, and image placement before using the result in Slides.
The best file format for Google Slides is usually PNG when you need transparency. JPG files do not support transparent backgrounds in the same way, so if you remove a background and download the file as JPG, you may end up with a white or solid background again.
A simple benchmark to remember is this: for presentation use, prioritize clarity over file size. A clean transparent PNG may be larger than a JPG, but it usually looks better when layered over colored backgrounds, gradients, and slide shapes.
For example, if you are placing a person’s photo on a title slide, remove the background, download as PNG, and place the subject over a soft color block. If you are adding a product photo to a business slide, use a transparent PNG so the product blends naturally with your brand colors.
Common Mistakes When Removing Image Backgrounds in Google Slides
A removed background does not automatically make a slide look professional. The final result depends on image quality, edge cleanup, placement, contrast, and slide design.
One common mistake is using a low-resolution image. If the original image is blurry, background removal will not fix it. The cutout may still look soft or pixelated. Start with the clearest image available before removing the background.
Another mistake is downloading the final image in the wrong format. If you need a transparent background, save the edited image as PNG. A JPG may replace transparency with a white or colored background, which defeats the purpose.
Users also forget to check the edges of the subject. Hair, glasses, shadows, product corners, and thin object details can look rough after automatic removal. Always zoom in before finalizing the slide.
A fourth mistake is placing the cutout on a background with poor contrast. For example, a dark-haired portrait on a dark purple background may disappear visually. Add a subtle shape, glow, outline, or lighter panel behind the subject if needed.
Another issue is relying on background removal when cropping would be better. If the image only has extra space around the subject, use crop. If the image needs a circular headshot, use mask. If the subject needs to stand alone without any surrounding background, use background removal.
For better slides, follow this simple quality formula:
Clean Slide Image = Clear Source Image + Accurate Cutout + Transparent PNG + Good Contrast
This formula keeps your process practical. Do not focus only on removing the background. Focus on whether the final image looks clear and intentional inside the slide.
The S.P.A.R.K Method for Clean Google Slides Images
Use the S.P.A.R.K Method whenever you need to remove or clean an image background for a presentation. It keeps the workflow simple and prevents messy slide design.
S — Select the right image
Start with a clear image where the subject is easy to identify. A person, product, logo, or object with strong contrast against the background will usually produce a better cutout.
Avoid images with heavy blur, complex shadows, transparent objects, or backgrounds that blend into the subject. These can confuse background removal tools.
P — Process the background
Use the built-in Google Slides background remover if your account has it. If not, process the image in Canva, remove.bg, Adobe Express, or another tool.
After removal, review the cutout before adding it to your final slide. If the background remover cuts off part of the subject, try another image or refine the edit in a tool that allows manual erase and restore.
A — Add it as a transparent PNG
Download or export the image as a PNG when transparency matters. Then insert it into Google Slides.
This step is important because the transparent background must be preserved. If you use the wrong file format, the image may appear with a white box around it.
R — Refine the placement
Once the image is in Google Slides, use alignment, size, crop, mask, and layering tools to improve the layout. Place the image where it supports the slide message instead of distracting from it.
For example, a speaker portrait may work well on the right side of a title slide, while a product image may look better centered inside a feature card.
K — Keep the slide clean
Do not overload the slide after removing the background. A clean cutout works best with enough white space, readable text, and consistent colors.
If the image looks too sharp or detached, add a soft shadow, background shape, or subtle border. If the image competes with the text, lower its size or move it away from the main heading.
The S.P.A.R.K Method works because it treats background removal as part of the full presentation design process, not just a quick edit. The goal is not only to remove image background Google Slides users struggle with. The goal is to create a visual that makes the slide easier to understand.
Conclusion
Learning how to remove background from image in Google Slides is useful for anyone who wants cleaner, more professional presentations. If your account includes Google’s built-in background remover, you can select an image and use the remove background option directly inside Slides. If the feature is not available, you can still get the same result by using tools like Canva or remove.bg, downloading a transparent PNG, and inserting it into your slide.
The key is to use the right method for the image. Background removal is best for portraits, products, icons, and objects that need to stand alone. Crop and mask tools are better when you simply want to frame an image or remove extra edges.
For the best result, start with a clear image, export as PNG, check the cutout edges, and place it on a slide with strong contrast. A clean image background can make your presentation look sharper, more focused, and easier to understand.
Your next step: open your slide, select the image, check whether Remove background is available, and use the S.P.A.R.K Method to finish the design cleanly.
FAQs
Can I remove an image background directly in Google Slides?
Yes, if your account has access to the feature. Google lists a Remove background option for images in Google Slides, but it requires an eligible Google Workspace or Google One AI Premium subscription. If you do not see it, use a background remover and upload a transparent PNG.
Why don’t I see the Remove Background option in Google Slides?
You may not see it because the feature depends on your account type, subscription, workspace settings, or rollout availability. In that case, use Canva, remove.bg, Adobe Express, or another tool to remove the background outside Google Slides, then insert the finished PNG.
How do I make an image background transparent in Google Slides?
The easiest way is to remove the background with a built-in or external tool, then save the image as a PNG with transparency. Insert that PNG into Google Slides. Avoid JPG for transparent backgrounds because JPG does not preserve transparency.
Can I remove a white background from an image in Google Slides?
If the built-in background remover is available, it may remove a white background automatically. If not, use a tool like remove.bg or Canva. For simple logos, you may also try using a transparent PNG version from the original brand or design source.
Is cropping the same as removing a background?
No. Cropping removes the outer edges of an image, while background removal separates the subject from the background. Cropping is useful for framing, but it will not remove the area around a person, product, or object unless that area is outside the crop.
What is the best format for images with no background in Google Slides?
PNG is usually the best format because it supports transparency. After removing a background, download the edited image as a transparent PNG and insert it into Google Slides. This helps the image blend naturally with slide backgrounds, shapes, and colors.